

This design was super easy to make and requires only a few tools:
You will need: Some scraps of green, brown, red and white cardstock (any shades will do). A puzzle maker, personal trimmer, mini tape runner refill (or adhesive pen), fine tip pen, snowflake maker and starburst pocket punch.
STEP 1: Cut a piece of green cardstock 3.5" by 4".
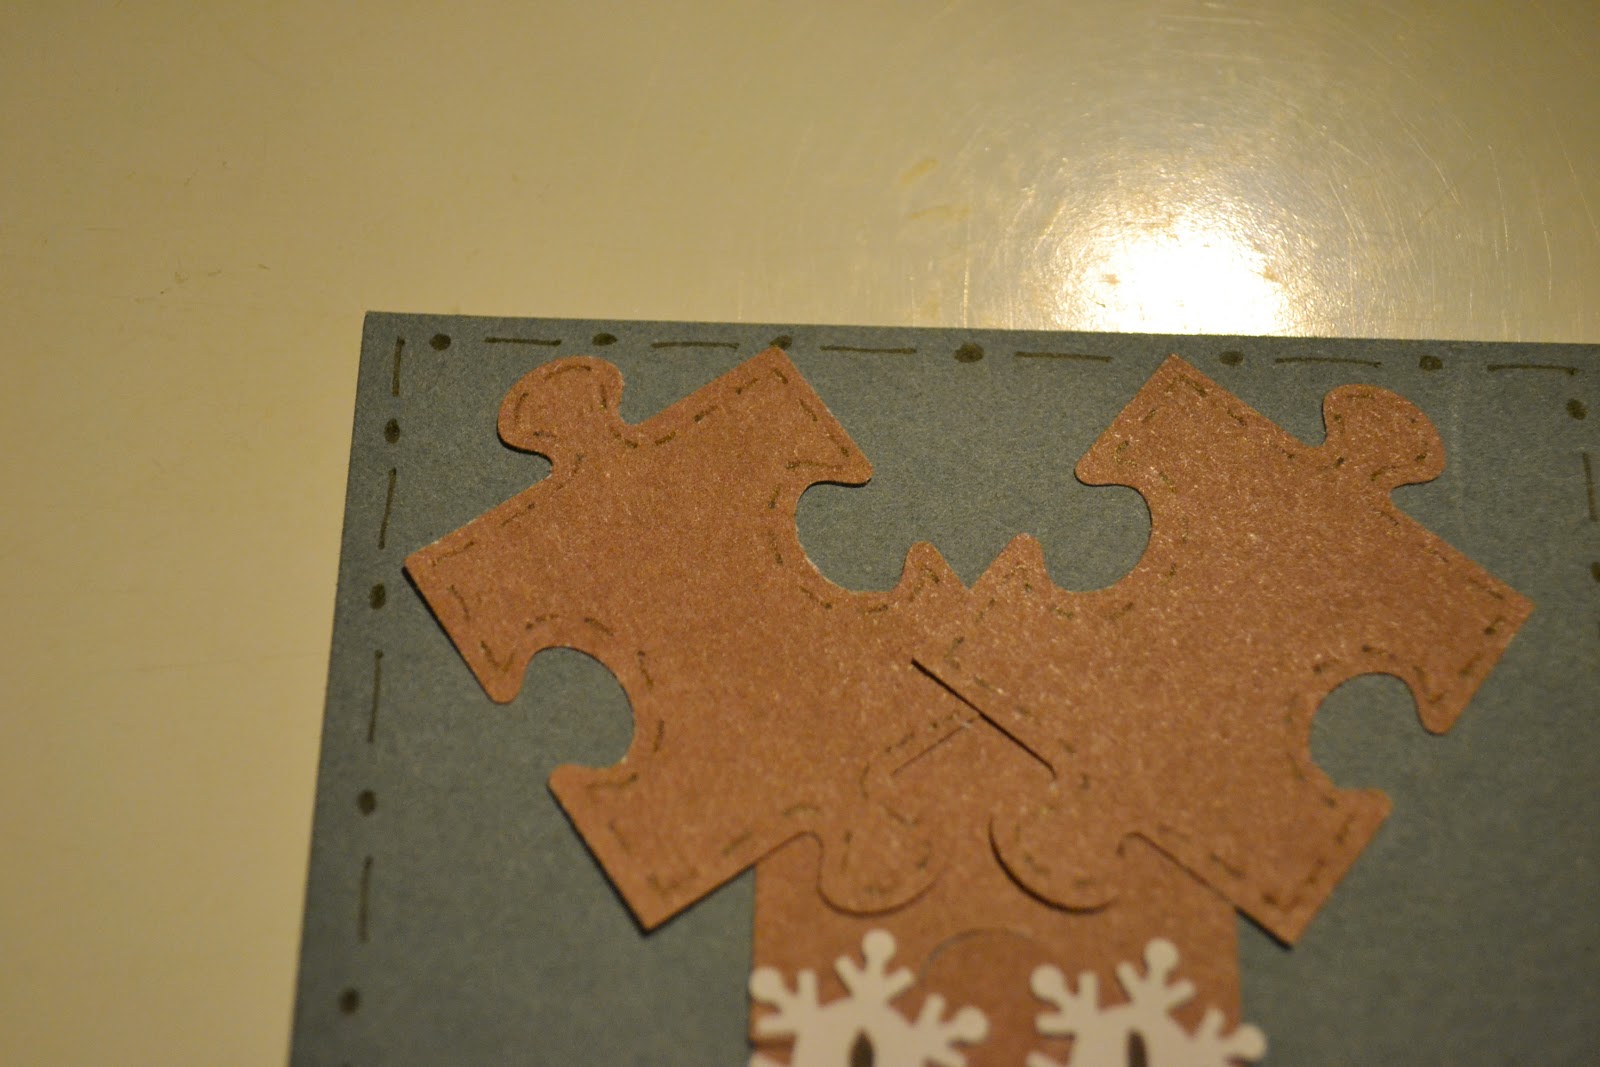
STEP 2: Punch 4 brown puzzle pieces.

STEP 3: Attach puzzle pieces to green cardstock.

STEP 4: Punch one starburst from red cardstock and attach to puzzle pieces for a nose.

STEP 5: Punch 2 snowflakes from white cardstock. Attach to puzzle pieces for two eyes.

STEP 6: Use the pen to create black centers for the eyes.


Optional: Use the pen to add stitch details to the reindeer.
It doesn't matter how many colors and shades of cardstock you use - they all look cute!

Here is the little table where my Open House attendees made their reindeer.


To make reindeer into a tent card that can be used as a greeting card or a placecard, attach the green cardstock to a piece of red cardstock. The red cardstock measures 4.25" by 9" and can be folded in half or can be scored at 4.5" and then folded.

No comments:
Post a Comment