

Winding down to the end of the holiday decoration posts, I've saved this one for last. Why? Well because these ideas can be repeated for virtually ANY holiday, not just Christmas.
The vellum lights are an idea I came by from photos posted by other Creative Memories consultants. I saw their photos but didn't read their full descriptions of how to create them, so maybe mine are the same and maybe different.

You can see my vellum lights pictured above in this decorative setting in my den. The lights sit amoungst my Everyday displays that highlight some of the many photo cards I've received from family and friends.
To make the vellum lights, I first gathered some supplies:
1. Vellum Paper. I got mine at Creative Memories but they no longer sell it - check your art and craft stores for vellum paper.
(ask me about digital vellum paper and I'll tell you how to make it in Storybook Creator software)
2. Battery operated candle lights (candle cheaters - great for dorms or kids' bedrooms and other places where candles are too dangerous or not allowed).

Both tea light size and stand alone candle size in white or cream will do.

3. Small glasses or clear glass votives (that fit a tea light down inside).
4. Scraps of colored or decorative cardstock paper.
5. A border maker tool from Creative Memories with any cartridges you like.
6. Mini tape runner or glue pen.
7. Clear tape - like scotch tape or staples brand or some such (not the type used for scrapbooking).
STEP 1: Measure the diameter of your standalone candles and glass votives or small glasses.
STEP 2: Cut a piece of vellum paper that is the same length as your above measurement and a width that suits your design.
STEP 3: Use the bordermaker to cut a border from your colored paper and cut it to the same measurement as in step 1.
STEP 4: Attach the border to the vellum at any height, bottom, top, middle are all good. I used a mini tape runner for this step.
STEP 5: Curl your vellum with border into a cylinder (I actually made mine just slightly larger than my glasses and candle so as to just slip them over the top). Use scotch tape to hold the curled paper in its shape. I used 3 pieces of tape at the top bottom and middle. I didn't opt for tape runner for this because it didn't stick as well for holding this in a cylinder shape.

STEP 6: Place the cylinder over top the glass or candle.
STEP 7: Turn on the candle. VOILA!
NOTE: I placed a few tissues inside of the small glasses that held the tea lights so the tea light battery candles would sit at different heights giving the illusion that the candles had burned down to different levels.
Vellum cylinders can be removed and saved for future holidays (cut thru tape, flatten and save) and new designs can be created for other holidays - brilliant, love them!

NOW on to the gifts:
This year I wrapped most of my gifts in cast off sweaters, jeans pant legs, and random fabric scraps. I tagged the gifts with cutout Chrismtas cards from last years holiday greeting cards.

However, I did use scrapbook paper in holiday designs to wrap some of the smaller gifts and to use up some of the scrapbook paper that I have. As a cm consultant I open a lot of paper packs to use for demo purposes and I like to use them up so that I can purchase new packs the following year!
Here are some photos of my scrapbook paper and scrapbook tool decorations - I've also used photos as tags and just punched them with my tag maker (one of my favorite tools). And, I wrapped some gifts with last year's open house customer gift wrap with added scrapbook embellishments.


NOTE: Ok. I love cM tools, but I'm very frustrated that sometimes the tools don't cut well when using the thinner decorative paper - so it is with the tag maker. I have found that if I punch TWO pieces of decorative paper at the same time (giving it the heavier weight of solid color cardstock), I have a better result. The pocket punches work marvelously with both weights of paper, but some of the other punches and tools have more trouble with the thinner weights of card stock. Just beware. And cM - improve upon this! 'nuf said.
Still got some leftover paper? Dig into your recycle bin and pull out some jars and cans, decorate them with scrapbook paper, add greenery - instant decor.


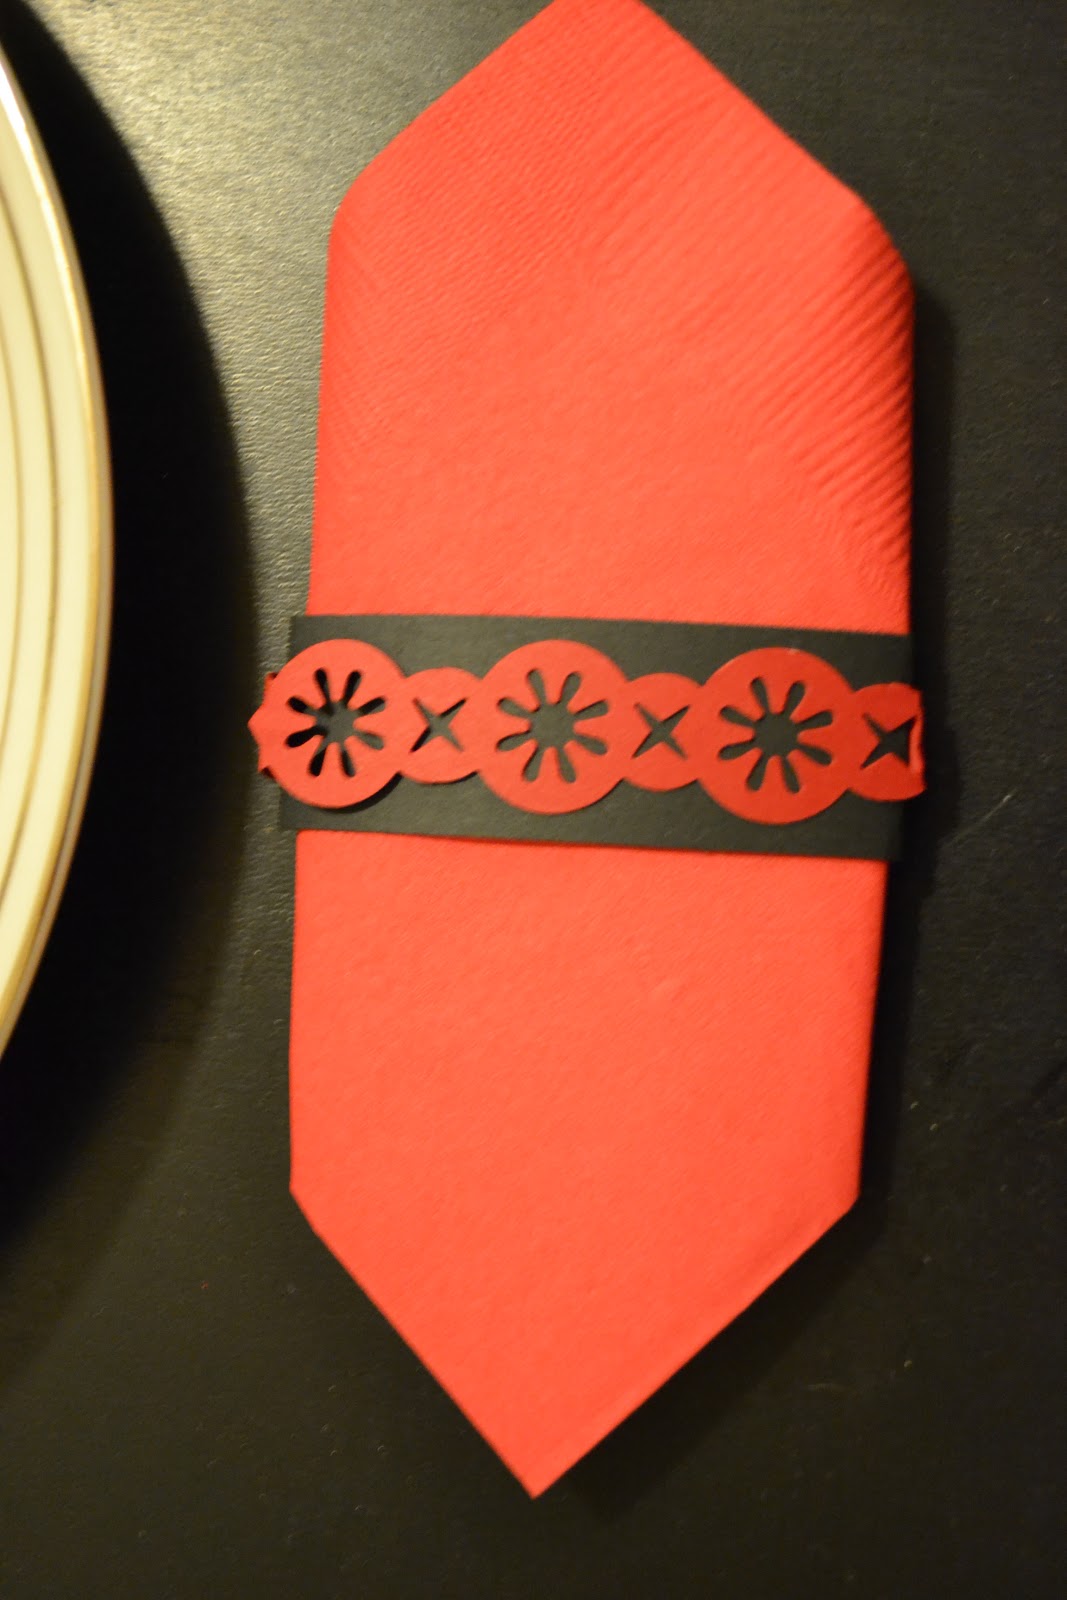
MORE? Finish off your napkins with a little bling.


So go make yourself some beautiful twinkling vellum votives for the New Year and wrap up your final new years hostess gifts in your remaining holiday scrapbook paper - and happy new year to you all!

Thanks so much to all of you who follow my blog - and a special thanks to all of you who have gone the extra mile to become a public follower - I so appreciate all your support and kind feed back.

Happy New Year - Sher
Awesome ideas! I will be back regularly!
ReplyDeleteI would love to know how you make digital vellum paper. Thanks so much for your wonderful ideas.
ReplyDeleteDigital Vellum Paper. I make it using my storybook creator software - I use the technique ALL THE TIME! and I will be doing a post on just that very soon - make sure you are signed up as a follower so you don't miss upcoming posts! Thanks for your sweet comments. Sher
ReplyDelete